| Item | Price | Qty | Total | |
|---|---|---|---|---|
 Loading Cart...
How to Centrifuge Blood for Platelet-Rich Plasma: PRP Centrifuge Procedure for 1 Million/uL Concentration

No one can deny the evidence of the growing popularity of Platelet-Rich Plasma. For instance, in 2011, we only had about 460,000 hits on Google for PRP. That number has almost grown 10x now (2015) with close to 4,000,000 (4 million) hits on Google for PRP.
If that’s not exponential growth, I don’t know what is.
This is growth despite the industry trying to subdue it by not supporting further research. And without any support whatsoever from insurance companies for the patients. So this trend isn’t from people looking for free procedures. Everyone knows they are going to have to pay. You can only imagine what it would become when the procedure finally gets covered by medicare and other insurance providers.
Time will tell.
However, there aren’t many doctors who specialize in PRP Injections. You know the #1 query in Google for PRP is from people looking for doctors. Our inboxes are flooded with such requests to locate physicians for PRP Injections.
So why do most doctors hesitate to jump in on the bandwagon?
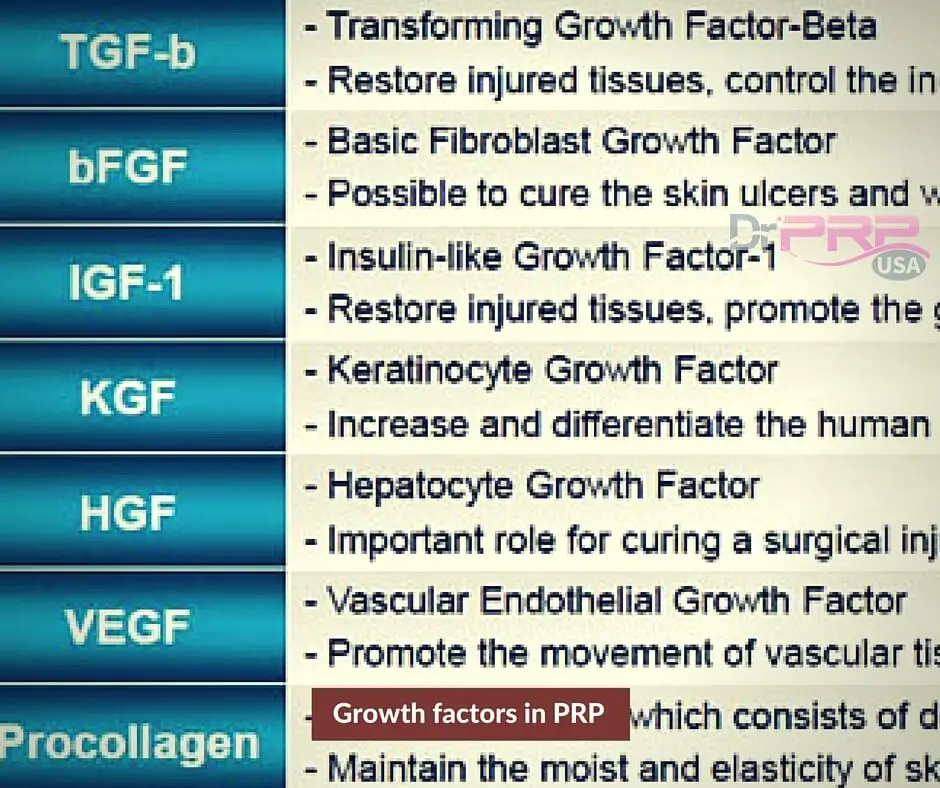
Objections To Overcome If You’re A Provider
There are two objections to address here.
FIRST, you need basic training to get started in PRP. Especially if you’re in the orthopedic field, you need training on ultrasound guided injections.
The SECOND and the easiest step is to invest at least a $1500 in a centrifuge and kits.
However, it’s also a catch 22. As a physician, you won’t get to the step 2, unless you’re confident about step 1.
So I’m going to try answer a question I’m seeing about step 1.
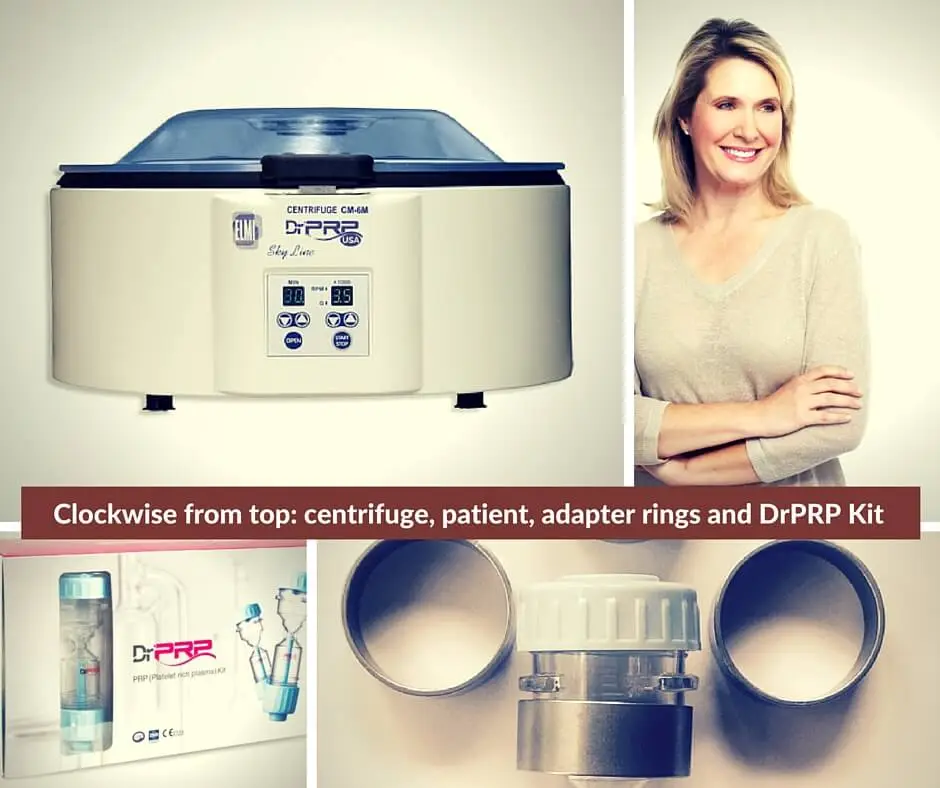
Platelet-Rich Plasma Centrifuge Process For Maximum Concentration
There are two methods for preparing Platelet-Rich Plasma.
1. The PRP Method
This is slightly complicated. It involves a first spin in a centrifuge to separate the RBC. This involves spinning and then physically transferring the supernatant plasma with platelets into another tube.
Then a second centrifugation to further concentrate those platelets.
Here’s how PRP methods works.
- Draw whole blood in ACD tubes.
- Without chilling the blood, put it in a centrifuge for slow speed (soft spin). This separates plasma from RBC.
- Transfer the plasma into another non-ACD tube.
- Centrifuge it at a higher speed (hard spin). This concentrates the platelets at the bottom of the tube.
- The bottom 1/3rd is Platelet-Rich Plasma. Remove the other two thirds, which is Platelet-Poor Plasma. And shake the tube so that platelet pellets at the bottom of the tube gets mixed for an even concentration of Platelet-Rich Plasma.
2. Buffy Coat Method.
This is the simplest method. The whole blood is centrifuged at high speed (hard spin) to result in a buffy coat layer that separates the white blood cells and platelets from the Red Blood Cells.
Here’s how the Buffy Coat method is done.
- Draw whole blood in ACD tubes.
- If you need to store the blood, maintain about 20°C to 24°C.
- Put it in a centrifuge and spin it at a ‘high’ speed. This results in three (3) layers. Bottom RBC layer, middle platelets and WBCs and the top PPP layer.
- Remove the top layer, and take the middle layer and discard the bottom layer. You can further centrifuge this at low speed for separating the WBCs.
It’s way easier than this with Dr. PRP system.
Here’s how the Buffy coat method is done with Dr. PRP.
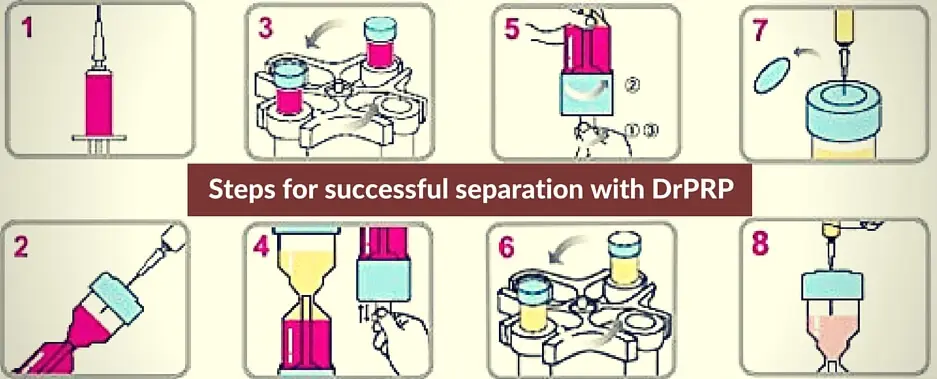
How To Use Dr. PRP Platelet-Rich Plasma Kit
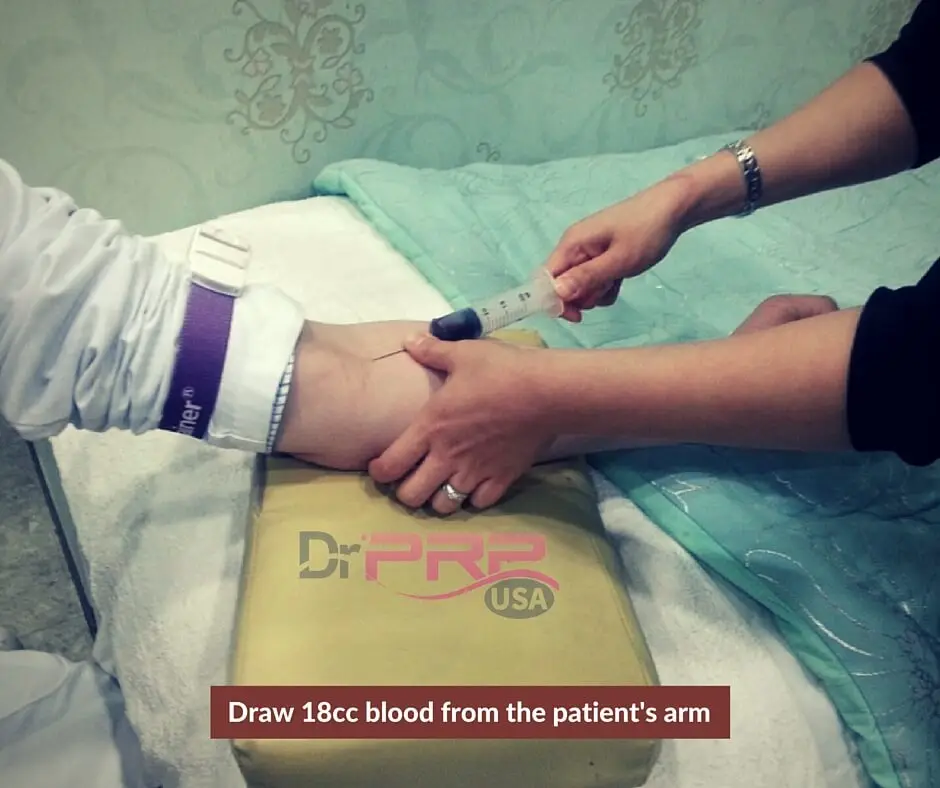
- Draw 18cc of blood in a tube with 2cc ACD. (Note: ACD-A Anticoagulant Citrate Dextrose Solution, Solution A, is the only anticoagulant product approved by the US-FDA for the use in preparation of Platelet-Rich Plasma)
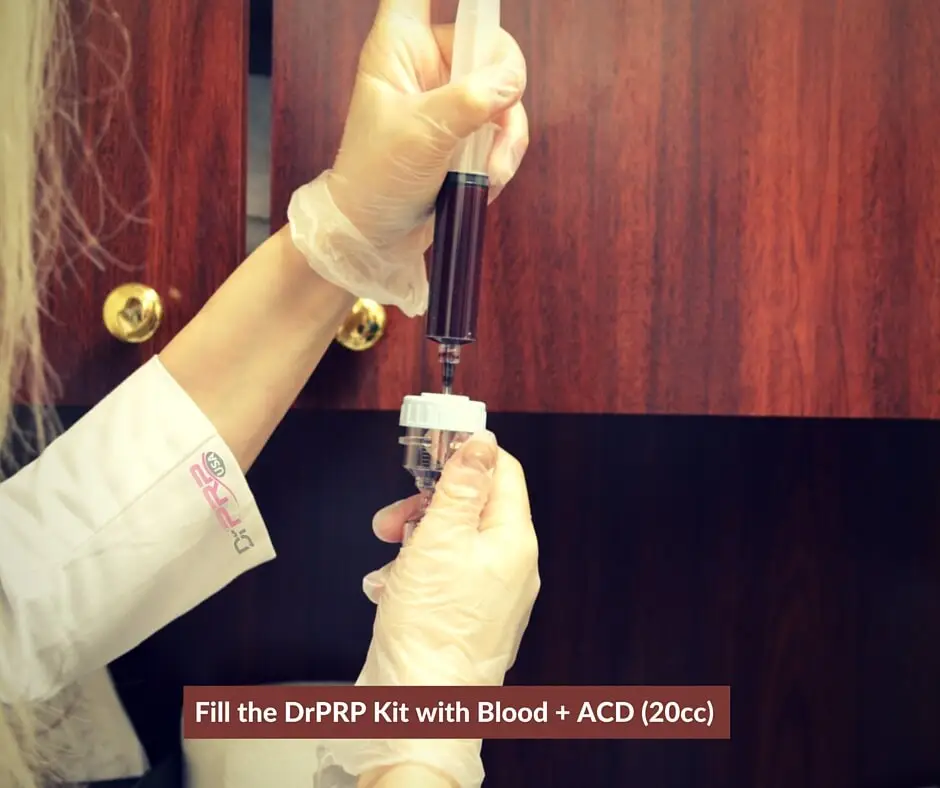
- Inject the drawn blood to Dr.PRP kit through the upper injection port of Dr.PRP Kit until the blood level reaches the 20cc scale marked on the kit. (For easier injection, tilt the kit.)
- First centrifugation. Insert the Dr. PRP kit into the centrifuge buckets. And add a counter weight on the opposing bucket (This is simply another device with equal mass to balance the spin.)
- Spin it for 3200 pm for 4 mins. This will separate the whole blood into plasma and red blood cells. *For subjects taking aspirin, antihypertensive drugs, those with cardiac disease, anemia, or during menstruation, the centrifugation should be done for 4 min at 1,000 RPM.
- If after 4 minutes, if the plasma layer lies above the line as shown below, then spin it again at 3200 rpm for 1 more minute.
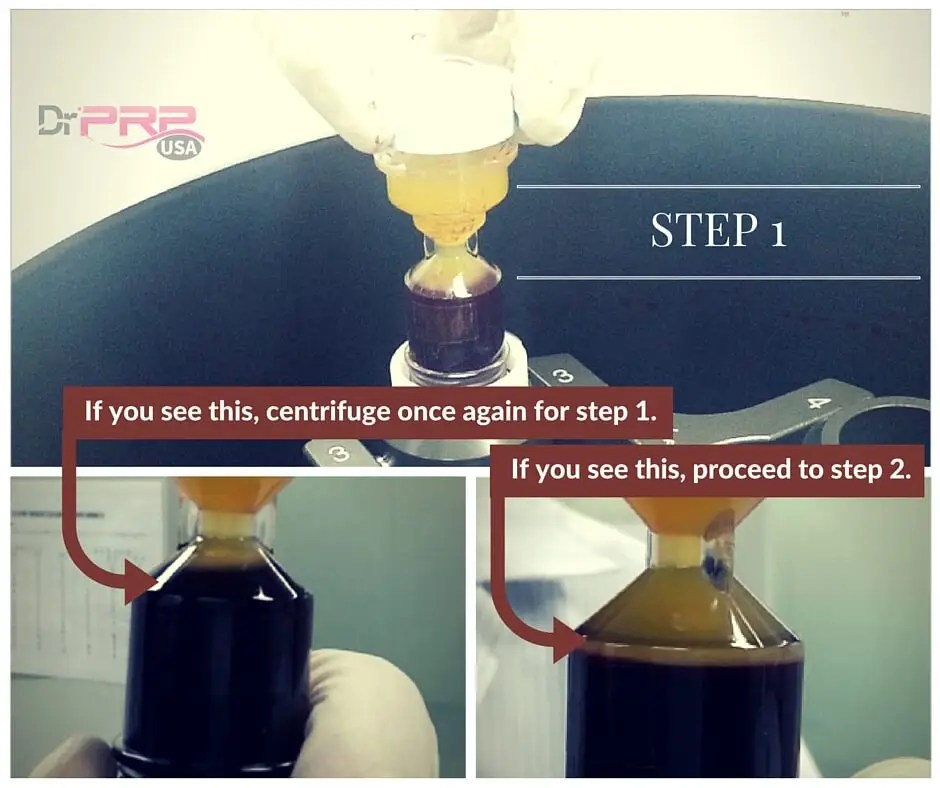
- Once you get the boundary line between plasma and RBC layer below the edge, you can push the blue rod up to close of the separation of the plasma and RBC. After you push, tighten the knob at the bottom to lock it.
- Now place the kit back in the centrifuge bucket for the second round of centrifugation. (If you’ve taken the counter-balance off, do remember to place it back.) This time spin it for 6 minutes at 3200 rpm.
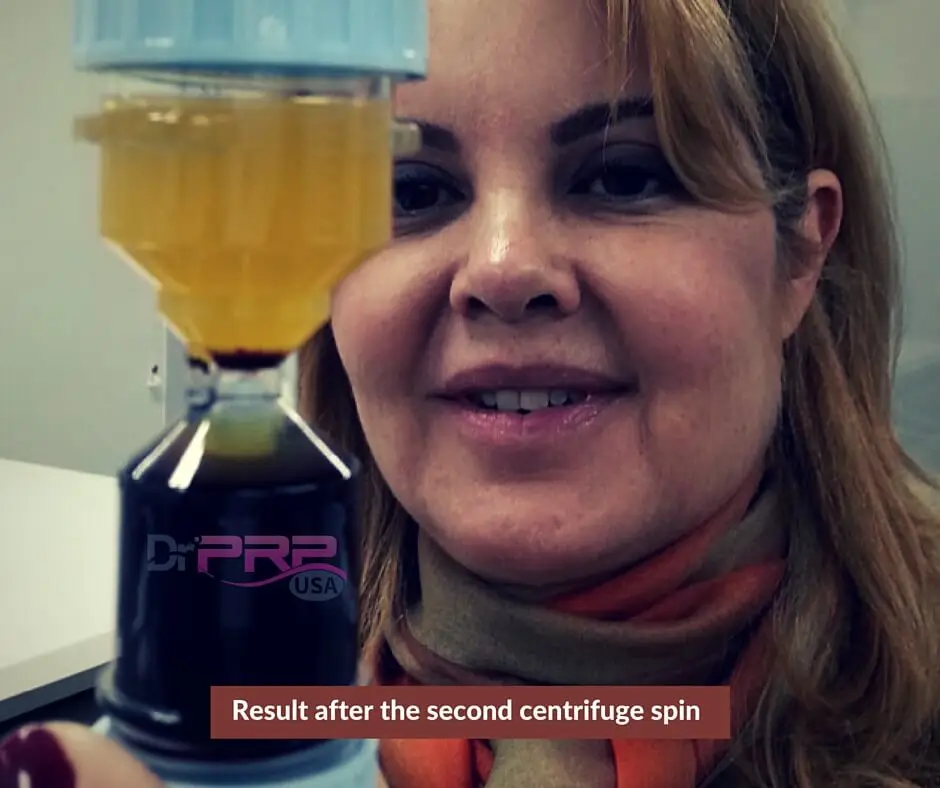
- We’re done. Carefully take out the Dr. PRP Kit in its upright position so as not to mix up the resulting contents in the upper chamber of the kit. The top portion of it is PPP and the bottom 4cc is the PRP. So draw out the entire contents of the upper chamber except for the last 4cc.
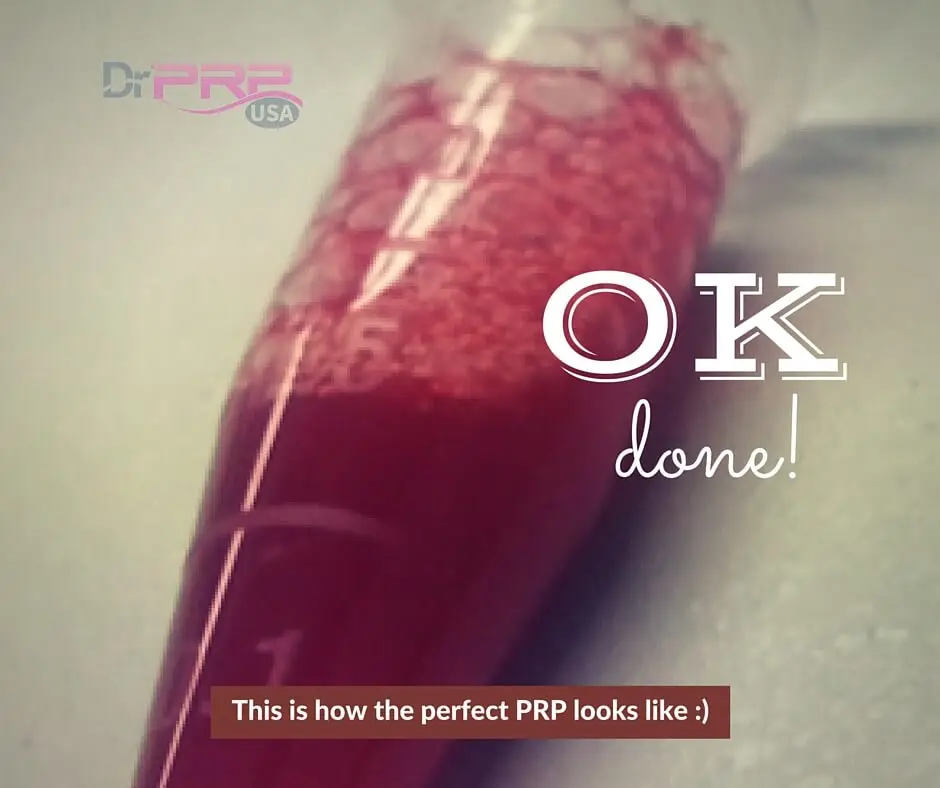
- Shake the last (bottom) 4cc, which is Platelet-Rich Plasma, for the plasma pellets to mix evenly. Draw it into a syringe and inject it on the patient in the area that’s needed.
Note: If you follow this procedure, you should see a concentration rate anywhere from 4 to 8 X base count, which is the highest yield you can get for Platelet-Rich Plasma.
Standardise It For The Future Of Platelet-Rich Plasma
Standardization of this procedure means you’re getting the foundation ready for the future of this remarkable treatment. The above steps can be used for All of these Platelet-Rich Plasma variations, mainly:
- Pure Platelet-Rich Plasma (P-PRP): This one has no leucocytes and a low-density of fibrin network.
- Leukocyte PRP (L-PRP): This one has leukocytes and a low-density of fibrin network.
- Pure platelet-rich fibrin (P-PRF): This one has no leucocytes and a high-density fibrin network.
- Leucocyte platelet-rich fibrin (L-PRF): This one has leucocytes and a high-density fibrin network.
By strictly following this procedure, we stand to make Platelet-Rich Plasma therapy more effective and we can hope that eventually the insurance companies would not only authorize its use, but even require it as a first line treatment for many conditions especially in their early stages.


