| Item | Price | Qty | Total | |
|---|---|---|---|---|
 Loading Cart...
Dr. PRP Process
How PRP Therapy Injections Are Done
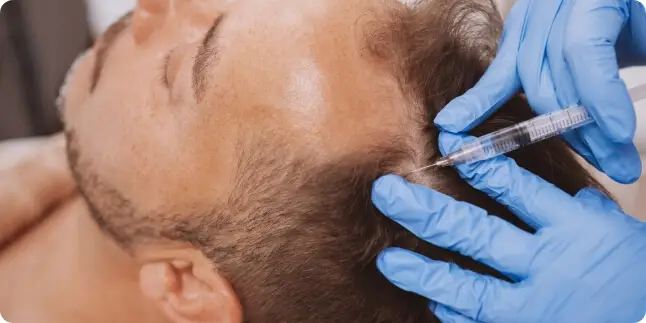
The entire treatment, from blood draw, to solution preparation, to injection, takes 30-40 minutes. Before injections are given the skin and underlying tissue is first anesthetized to minimize the discomfort.
Do PRP Injections Hurt?
The level of discomfort depends on the area being treated. As with any injections, there will be a mild discomfort. The patients will be administered anti-inflammatory medications like Advil, Motrin, ibuprofen, Aleve, Celebrex, and Mobic if necessary.
Are There Risks With PRP?
Anytime a needle is placed anywhere in the body, even getting blood drawn, there is a risk of infection, bleeding, and nerve damage. However, these are very rare. Because PRP uses your own blood, you cannot be allergic to it.
Step One: Blood Draw
First step in a PRP Therapy injection is to draw the patient’s blood sample to prepare the platelets.
Step Two: Spin To Separate PRP
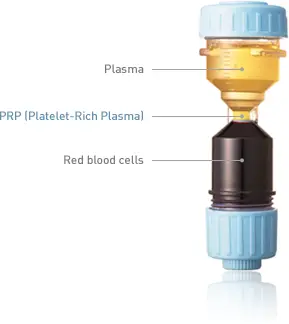
The blood sample is then loaded into a centrifuge and is spun for a certain amount of time to separate the components, mainly Red Blood Cells, Poor Platelet Plasma and Platelet Rich Plasma.
Step Three: Load the PRP and Inject
Once you’ve successfully separated the PRP (buffy coat), it can directly be loaded into a syringe for application onto the patient.
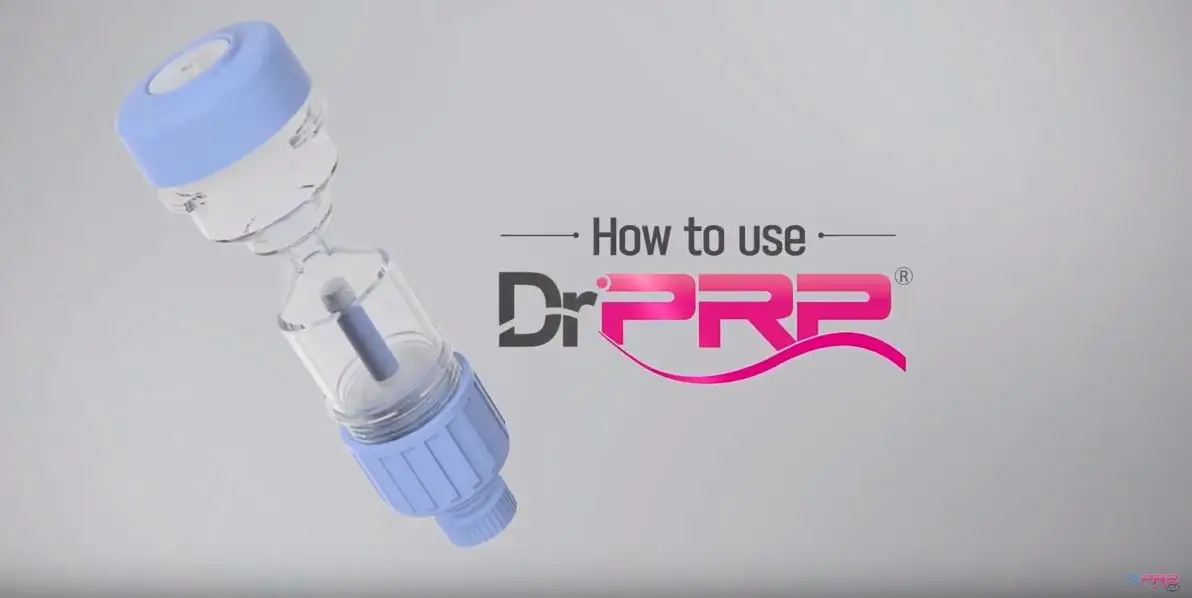
How to use Dr. PRP Platelet-Rich Plasma Kit

1st Step
In a 20 cc syringe take 2 cc of anticoagulant, then draw 18cc of blood from a subject (final volme : 20 cc).

2nd Step
Inject the drawn blood to Dr.PRP kit through the upper injection port until the blood level reaches the 20cc scale marked on the kit. (For easier injection, tilt the kit)

3rd Step
- Separate the plasma layer and red blood cell (RBC) layer by the first centrifugation. (Prior to centrifugation, balance the weight of kit with counterbalance) - Conditions for the First Centrifugation (RPM) Female - 3,000 RPM 3 minutes Male - 3,000 RPM 4 minutes When fail the seperation - 3,000 RPM 1 minutes *For subjects taking aspirin, antihypertensive drugs, with cardiac disease, anemia, or during menstruation, the centrifugation should be done for 4 min at 1,000 RCF.

4th Step
After the first centrifugation, identify the separation position of the plasma and the RBC layer. Then adjust the height of the separated boundary to the indicated point by pushing up or pulling down the adjusting knob located at the lower part of the Kit. (If the volume of the plasma layer or the separation is not quite well done, additional centrifugation may be done for about 1-2 min at same RPM)

5th Step
In order to block the plasma and the RBC layer completely, fasten the adjusting knob (counter-clockwise) located at the lower part of the Kit. Then fasten the valve(counter-clockwise) just above the adjusting knob. Finally fasten the adjusting knob(counter-clockwise) again.

6th Step
Put the fastened PRP Kit to the centrifuge with counterbalance for the second centrifugation to enrich the concentrated platelet. *Condition for the second centrifugation : 6 min at 3,200 RPM.

7th Step
Place the PRP Kit in its upright position with care in order to prevent mixing of the separated PRP and PPP. Open the upper sillicone lid on the Kit. Using a 10cc syringe with a long needle (> 5 cm) take out the PPP layer slowly from the upper part leaving 4 cc at the base.

8th Step
Shake and mix the remaining 4 cc of the PRP layer. Then administrate the PRP.
Dr. PRP Buffy Coat Extraction Process
Click on the button to watch the video so you’ll learn more.
Certified Safe

Dr. PRP is not only registered with the FDA as a blood collection tube and produced under an ISO-certified process, but it has also proudly achieved FDA 510K clearance. This significant milestone enables its use by a broad range of medical professionals and facilities, including Orthopedic Doctors, Sports Medicine Clinics, Plastic Surgeons, Dermatologists, Medical Spas, Veterinarians, and more, affirming its place at the forefront of quality and safety in medical devices.
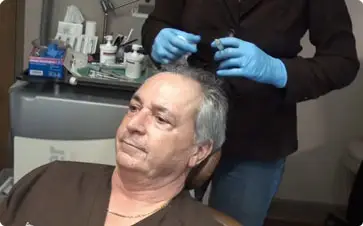
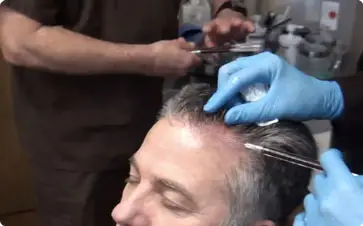
A PRP Therapy For Hair Restoration In Progress. Click on the images to watch the video.
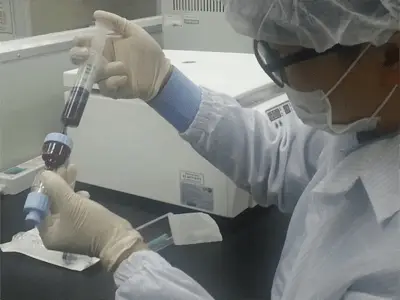
Dr. PRP buffy coat extraction can be done in a single step. For further higher concentration, a second step is needed.
- In the first centrifugation spin, yellowish layer of plasma and the buffy coat layer of leukocyte and platelets are separated. This separated content may also contain some Red Blood Cells.
- In the second centrifugation spin, the lower fraction Platelet Rich Plasma and White Cells are extracted.


